CSV export
Most often understood as an acronym for “comma-separated values” (though sometimes called “character-separated values” because the separator character does not have to be a comma), CSV is a file format that stores tabular data in plain-text form. Information with common properties that can be expressed as a sequence of fields sharing a common header can be stored in plain-text using the CSV format, making it application agnostic and highly transportable.
A CSV file consists of a number of records (rows), that have identical fields, separated by commas (or in some cases, another separator). Often a header column (i.e. the cell values in first or top row of a CSV file) is included, naming each column and indicating what kind of data the column contains. Data is then entered using a separator or delimitor (such as a comma) to indicate a separation of fields (or cells), and a line break or carriage return to indicate rows (i.e. different records). Most spreadsheet applications (such as OpenOffice Calc or MS Excel) can open CSV files and express them as a spreadsheet. See Wikipedia for more information on CSV.
In AtoM, there are several kinds of CSV exports available exports from the Clipboard; export of archival description advanced search results; and an export of jobs completed. Each will be outlined below.
Jump to:
- Export search and browse results in CSV format
- Export Clipboard results in CSV format
- Export completed jobs in CSV format
See also
Export search and browse results in CSV format
Any authenticated (i.e. logged in) user can generate a CSV export of archival description Search or Browse results. The CSV export, after it is generated, is made available for download from the jobs page.
See also
When downloaded, the file will be compressed in a ZIP archive - there are many free utilities (likely there is one already included on your computer) that will allow you to “unzip” a ZIP file.
Note
You must be logged in to perform a CSV export of search results.
To generate and download a CSV export of search or browse results:
- Navigate to the archival description Browse page. You can get there using the browse menu located in the AtoM header bar - for more information, see: Browse menu. You can also perform a search directly via the global search box in the AtoM header bar, or by placing your cursor in the search box, selecting “Advanced search” from the drop-down menu that appears, and then using the advanced search panel to perform a search. For more information, see: Search and Advanced search
- If you wish to limit the results returned based on a search query before exporting, perform a search using the advanced search panel, and/or limit the results using the facet filters available in the left column. For more information on working with the fields and filters available on the advanced search panel, see: The Advanced search panel. For information on using the facets, see: Facet filters; particularly, Using facet filters in AtoM:.
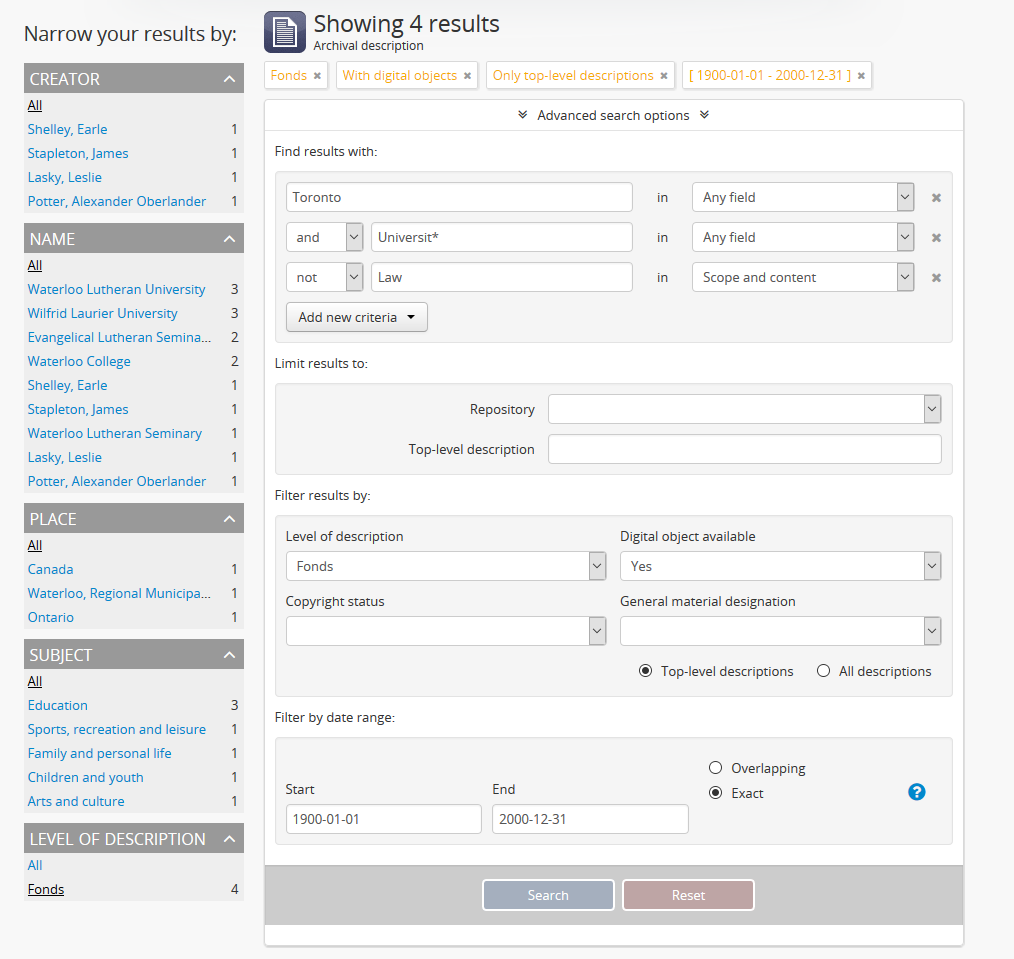
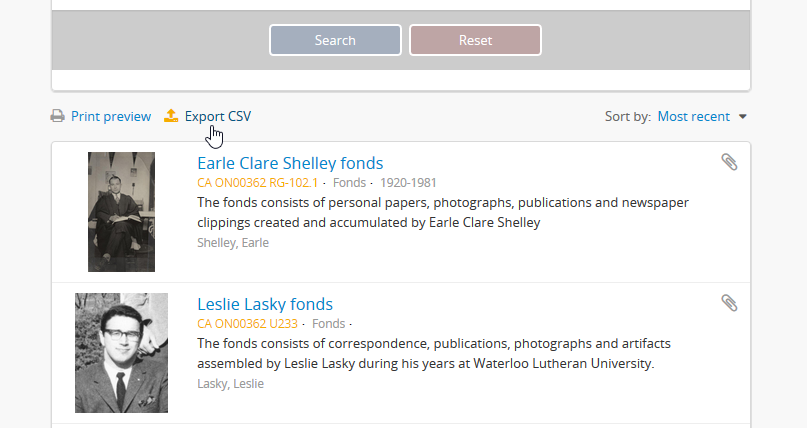
- When you want to export the search results returned, click on the “Export CSV” link - it’s located below the advanced search panel, but above the results, on the left.
Note
Public users will not be able to see this export link. Currently, the search CSV export feature is only available to authenticated (i.e. logged in) users.
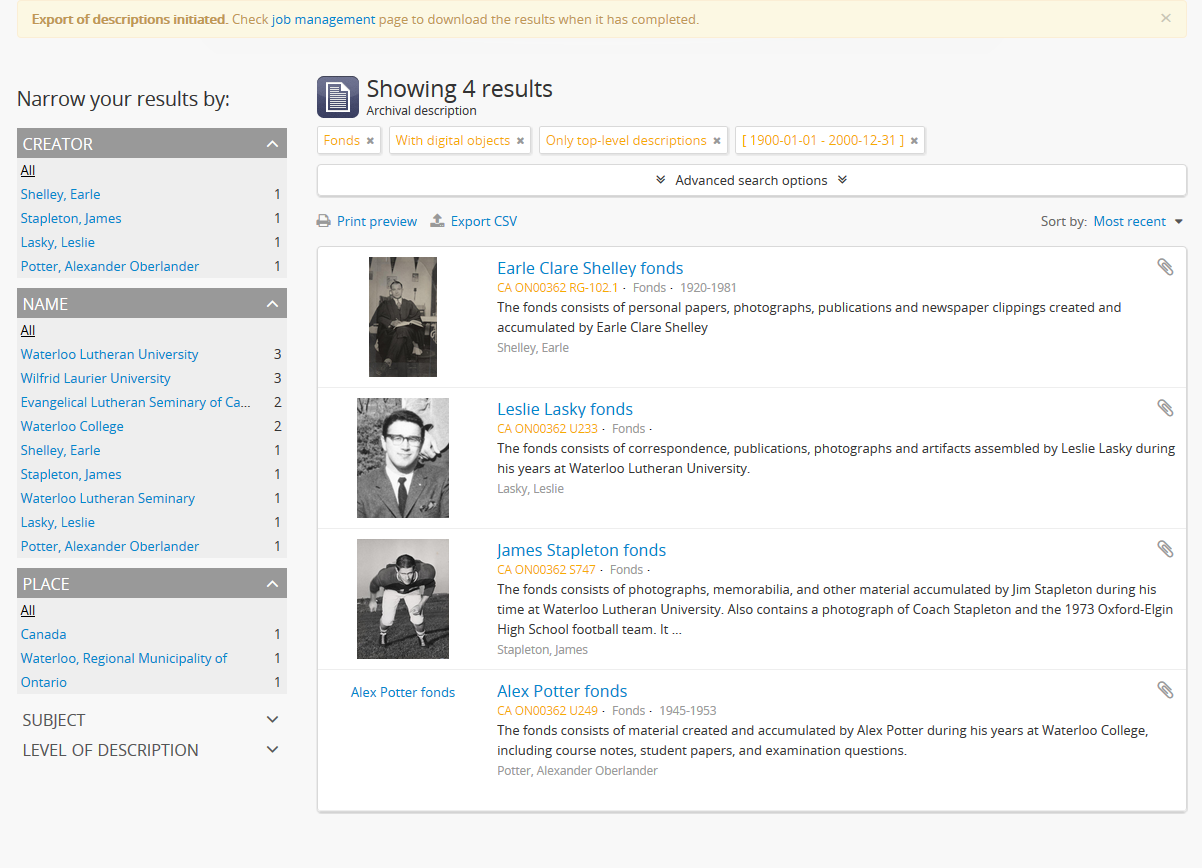
- The CSV export of the search results will be generated by the job scheduler. After clicking the “Export CSV” link, AtoM will reload the page - scroll back up to the top to see a notification about the job, with a link to the jobs page where you can see the status of your job and download the CSV when it is ready. Click on the link in the notification to go to the jobs page.
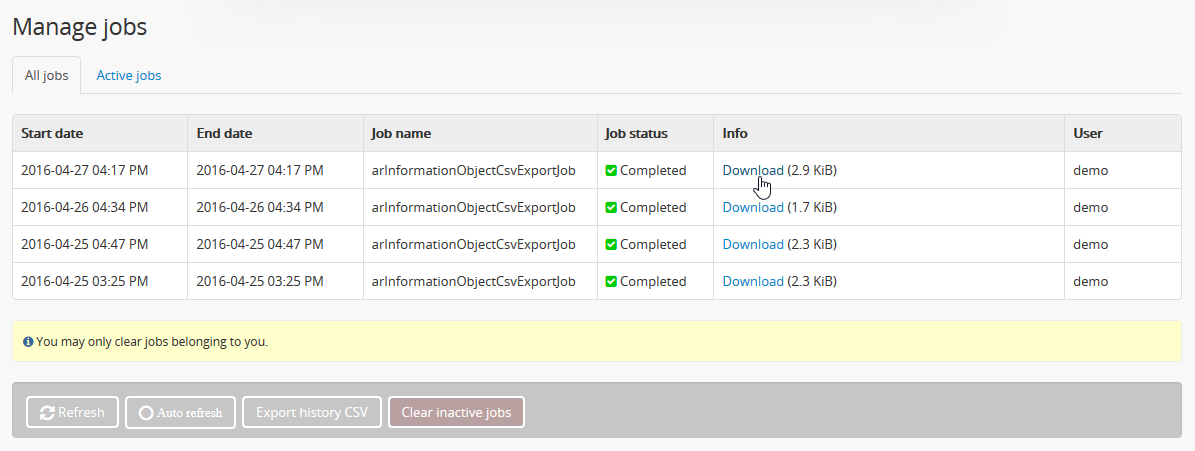
On the jobs page, you will find information about the export job, including a download link when the task is done. Check the “Job status” column - if it says “Completed,” then the job has successfully finished and you can now download your CSV. It is says “Running,” then the task is still being executed - try refreshing the page in a moment for an updated status. If the Job status column says “Error,” then the CSV export has failed for some reason - talk to your system administrator for assistance. See the Manage jobs page for more information.
When the job is complete, click on the Download link in the “Info” column, and the CSV, compressed in a ZIP file, will be downloaded to your computer.
Tip
The CSV export is formatted similarly to our CSV import templates. Curious about what fields are included, or uncertain what a certain field represents in the corresponding content standard? Take a look at our CSV import documentation on archival descriptions, or check out the CSV import templates on our wiki:
Export Clipboard results in CSV format
AtoM includes a clipboard that allows users to “pin” results to it for review or further action. For more information, see: Clipboard.
Any user can generate a CSV export of Clipboard results. The CSV export, after it is generated, is made available for download from the jobs page. For public users who do not have access to the Jobs page, a notification will be displayed with a direct link to the download when the export is ready.
Currently users can export the following entity types from the clipboard in CSV format:
Note
You can also perform XML imports from the clipboard. For more information, see: Export multiple XML files using the Clipboard.
See also
When downloaded, the file will be compressed in a ZIP archive - there are many free utilities (likely there is one already included on your computer) that will allow you to “unzip” a ZIP file.
To generate and download a CSV export of clipboard results:
- You should first ensure that you have the results you would like to export already pinned to the Clipboard. For more information on using AtoM’s Clipboard module, see: Clipboard.
- Navigate to the Clipboard page. You can get there via the
 Clipboard menu in the AtoM header bar - open the
menu, and select “Go to Clipboard”.
Clipboard menu in the AtoM header bar - open the
menu, and select “Go to Clipboard”. - AtoM will redirect you to the Clipboard page. Above the Clipboard results, there is a drop-down menu that will allow you to change the entity type of the records being displayed. When you arrive, by default archival description results will be shown, but you can use this menu to change the display to see other results. Make sure the record type you want to export is currently being displayed on the clipboard.
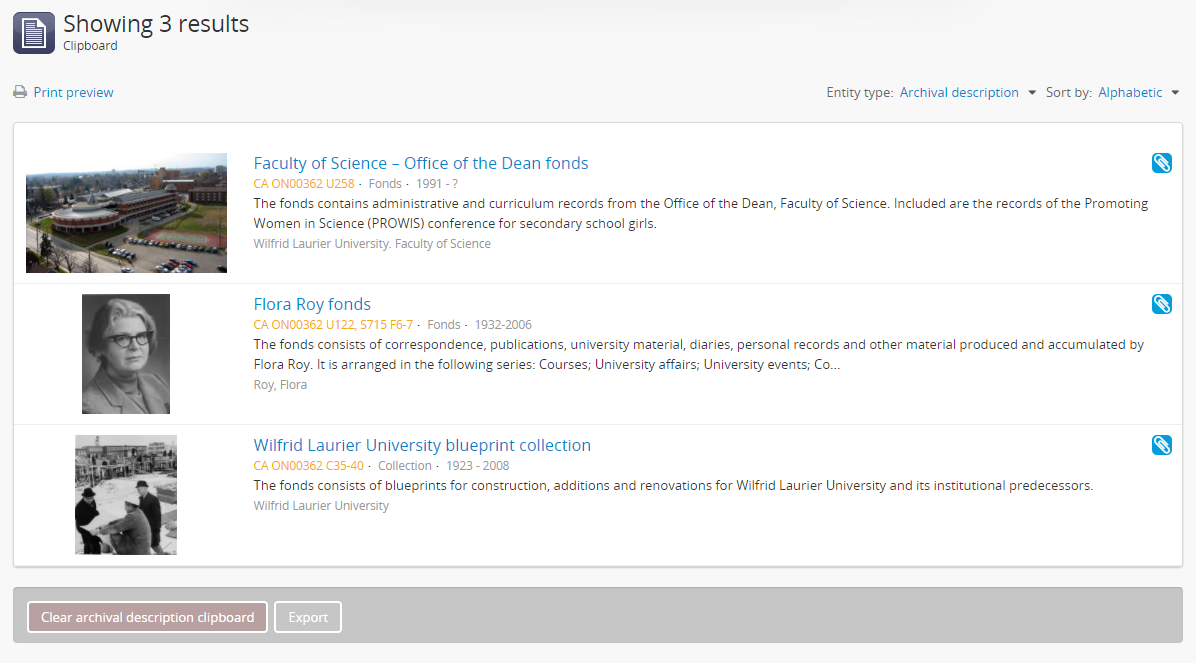
- Click on the “Export” link in the button block at the bottom of the page.

AtoM will redirect you to a page where you can configure your export. Make sure the Format drop-down menu is set to “CSV”.
An archival description CSV export will include additional configuration options. Public users can select whether only the current description should be exported or all descendants (i.e. lower-level records). If you want to include lower levels of description as well, click the checkbox marked “Include descendants”.

Once checked, the checkbox to “Include all levels of description” will become available, and will be automatically checked. If you want all lower-level records to be included in the export, then leave this box checked. However, if desired, you can uncheck this box and select only the levels of description you want included in the export. To do so, first uncheck the box labelled “Include all levels of description.”
AtoM will then display a list of all levels of description from the Levels of description taxonomy. You can use your Control (Mac users: Command) and Shift keys to multi-select the levels you want included in the export.
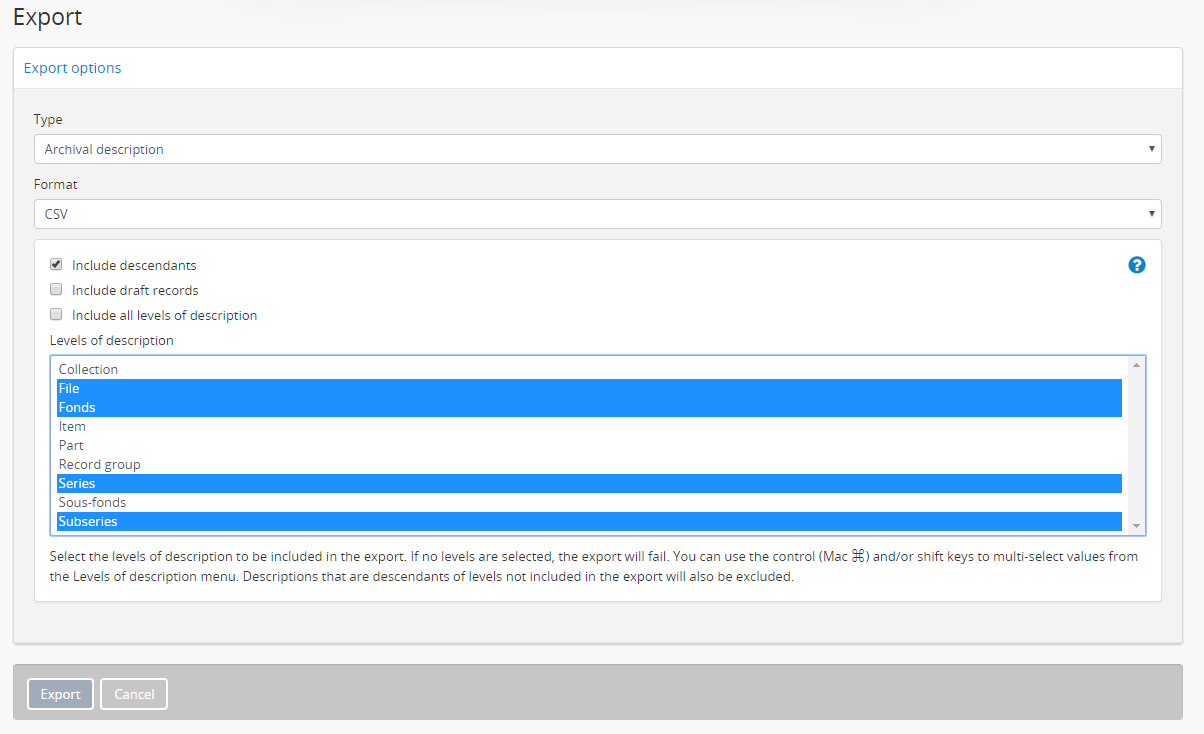
Finally, authenticated (i.e. logged in) users will also have the option to include draft records in the export. To include drafts, make sure that the “Include drafts” checkbox is selected.
Important
If you are selecting only certain levels of description for export, then descriptions that are descendants of levels not included in the export will also be excluded!
For example, let’s say you want to export a collection that has a child series, and the series has several child item-level descriptions. If you do not include “series” as a level of description, then the child items will also not be included in the exported CSV.
Once you have configured your export options, click the “Export” button in the button block at the bottom of the page.
The CSV export of the clipboard results will be generated by the job scheduler. After clicking the “Export” button, AtoM will reload the page with a notification about the job at the top.
For authenticated users, this will include a link to the Jobs page, where you can review the status of the export job, and download the ZIP file containing your CSV export when it is complete. Click on the link in the notification to go to the Jobs page.

For public users, first a notification that the job has been initiated will be displayed, with a link that will refresh the page to see if there are updates. Users can use the X icon on the right of the notification to remove it. You can now navigate elsewhere in the application - another notification will be provided when the export is complete and ready for download.

Once the export job has completed, AtoM will display another notification that includes a download link the next time the page is refreshed. Click the Download link to download the export.

For public users, the download notification will remain visible as you navigate around AtoM until you click the “X” to remove the notifcation.
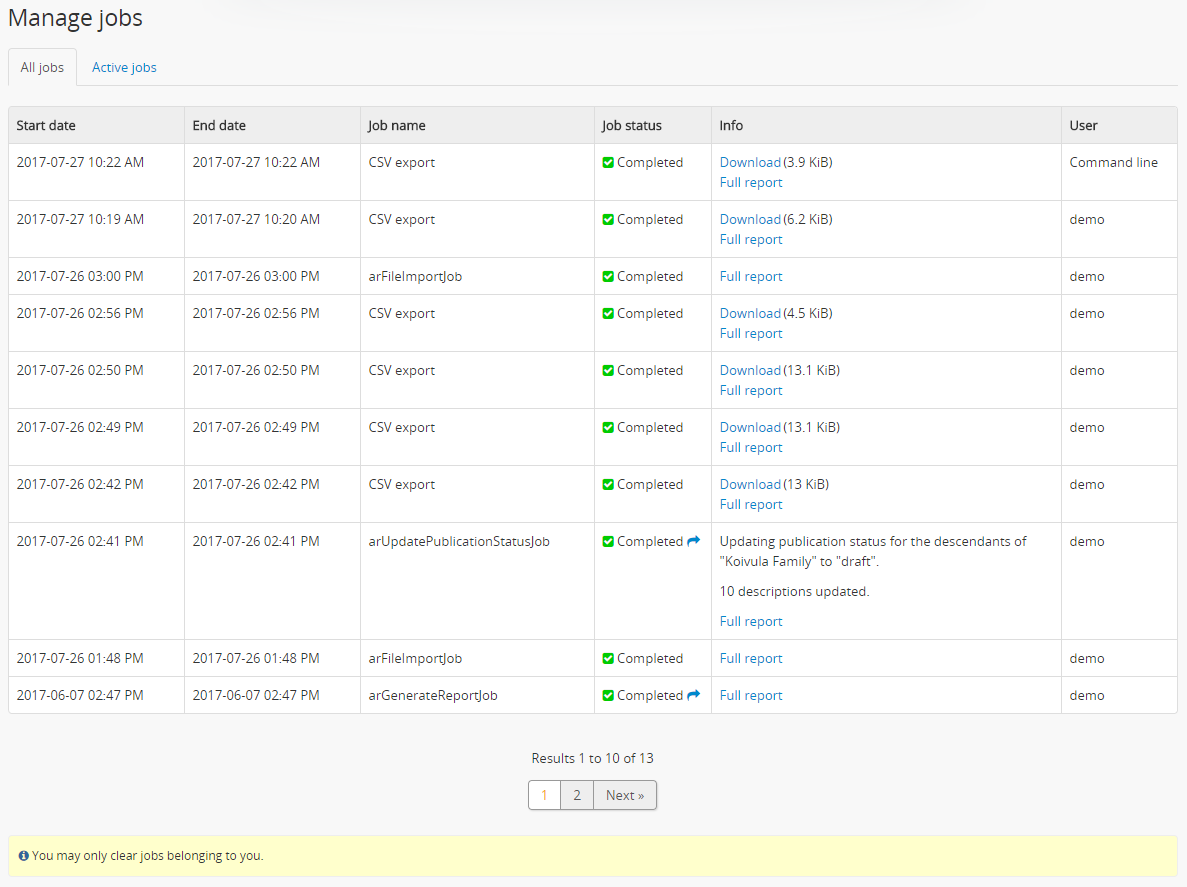
On the jobs page, authenticated users will find information about the export job, including a download link when the task is done. Check the “Job status” column - if it says “Completed,” then the job has successfully finished and you can now download your CSV. If it says “Running,” then the task is still being executed - try refreshing the page in a moment for an updated status. If the Job status column says “Error,” then the CSV export has failed for some reason - talk to your system administrator for assistance. See the Manage jobs page for more information.
When the job is complete, click on the Download link in the “Info” column, and the CSV, compressed in a ZIP file, will be downloaded to your computer.
Tip
The CSV export is formatted similarly to our CSV import templates. Curious about what fields are included, or uncertain what a certain field represents in the corresponding content standard? Take a look at our CSV import documentation on archival descriptions, or check out the CSV import templates on our wiki:
Export completed jobs in CSV format
AtoM includes a job scheduler in order to execute certain long-running tasks asynchronously to guarantee that web requests are handled promptly and work loads can be distributed across multiple machines. This ensures time and/or resource-intensive tasks do not timeout when running via the web browser. For more information see, Manage jobs.
In case users would like to clear completed jobs but keep a record outside of AtoM of previous jobs performed, a CSV export of the Jobs table is available. Like the display table in the user interface, the output contains columns for startDate, endDate, jobName, jobStatus, jobInfo, and jobUser.

Simply navigate to the jobs page via  Manage > Jobs, and then
click the “Export history CSV” button located in the button block on
the page. All jobs currently listed on the Jobs page will be included in the
export.
Manage > Jobs, and then
click the “Export history CSV” button located in the button block on
the page. All jobs currently listed on the Jobs page will be included in the
export.
Important
Only an administrator can see all jobs initiated by all users in the system. Other users can only see jobs that they themselves have initiated - and will only be able to export a CSV of their own jobs. See the Manage jobs page for more information on using the Jobs page.